Sign From Email - Guest
As you look to grow your business and professional relationships, often you will need to get into formal agreements with someone who doesn’t have a CocoSign account. If you’re wondering how they can sign from email without a CocoSign account, read this guide to learn more.
CocoSign allows you to invite any signers without a CocoSign account by just filling out their name and email address, and have them sign your document with legally-binding eSignatures directly from email.
How to Invite a Non-CocoSign Member to Sign as a Guest
Using CocoSign’s Send for signature feature, you can invite anyone with a valid email address for signature, including those who haven’t signed up for CocoSign.
Simply upload your document and navigate through the steps from Adding Recipients, Adding Fields to Review & Send, your document will arrive at your recipient’s email in a second.
Note: You can click Back to Documents to check the signing status of your document in real time.

How Do Non-CocoSign Users Sign from Email?
Non-CocoSign users can sign a document directly from their email inbox following the three steps below:
Step1: Verify Email Info
You will receive an email with the subject stating the sender’s name and the document you’re requested to sign in your email inbox. Click in to get more information.

After checking the sender information and messages, click Start Signing to access the document.

Step 2: Access the Document
After clicking Start Signing, there will be two circumstances depending on whether the sender requires an authentication of your identity:
1) If Yes, you will be navigated to an authentication page in a new tab.
2) If No, you will be able to access the document directly. Jump to Step 3 to fill and sign.
For the first case, the authentication process will begin with this page:

To enter the code, you need to return to your inbox and find the authentication code email sent by CocoSign. Enter the email and you will see a six-digit code in it.

Copy the code and paste it on the authentication page within 60s and click Confirm.

Hit Resend code if you didn’t receive the authentication code or entered an incorrect code.

Note: If you entered wrong codes three times, your access will be blocked and you’ll have to contact the sender to regain access.

If you enter a correct code within 1 minute, you will be directed to the same page as the second circumstance.
Step 3: Review & Sign
As you enter the document page, you will see a notice above asking you to read the Electronic Record and Signature Disclosure. Only after you tick the box I agree to the use of electronic records and electronic signatures and click Continue, can you fill and sign the document.

Click the Signature field, type, draw or upload your eSignature. You can use the existing signatures, edit them or create a new signature at will. Hit Sign Now to embed your signature in the document.

After adding the signature, you can click and fill in other fields like date, address, company, etc. You can check how many more fields should be completed at the upper-left corner of the page.

If you finish filling in all fields, you will see a notice at the upper-right corner telling you that you can click COMPLETE to proceed.

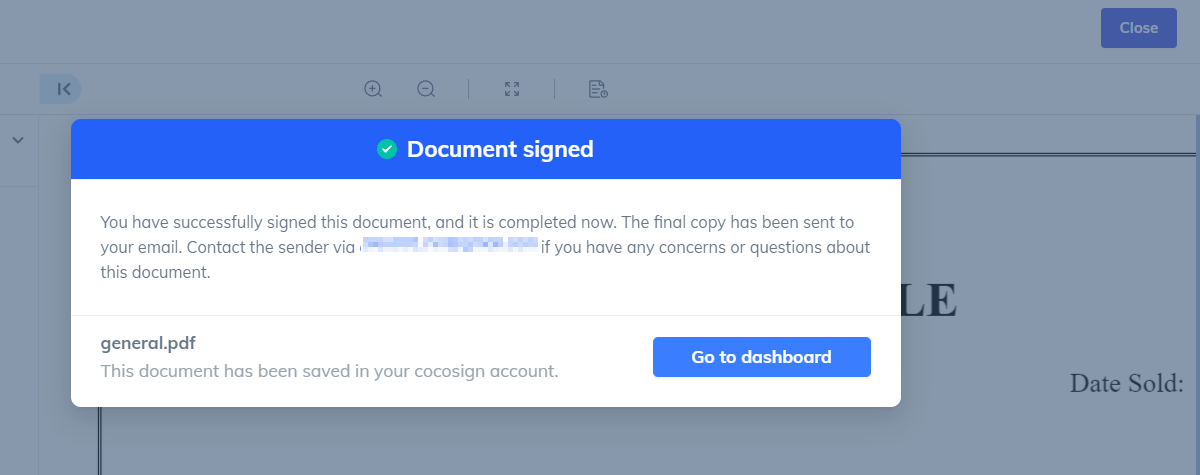
After clicking COMPLETE, you will see a pop-up window notifying you that the document has been signed. If you’re interested in CocoSign, click Go to dashboard to create a CocoSign account.
Note: You can choose to decline signing if needed. Click Other right next to the COMPLETE button and hit Decline.

The Decline window will appear and note that the document will be voided. You can write the reason for declining or just leave it blank. Click the red Decline button and the document will not be retrieved again.

Signing from email is easy, right? Now you can give it a try and get your document signed in a second!